Dashboard
Once installation of the Python components is complete, navigate to https://dashboard.lan.aegiq.com/ to begin interacting with the system. This should take you to a login page, which you should be able to access using your email and a generated password. If you do not have these details then please contact your system administrator to request them.
Once logged in to the system, you’ll see a dashboard similar to the one below. This displays the status of the system, an overview of recently executed jobs and the access token interface.
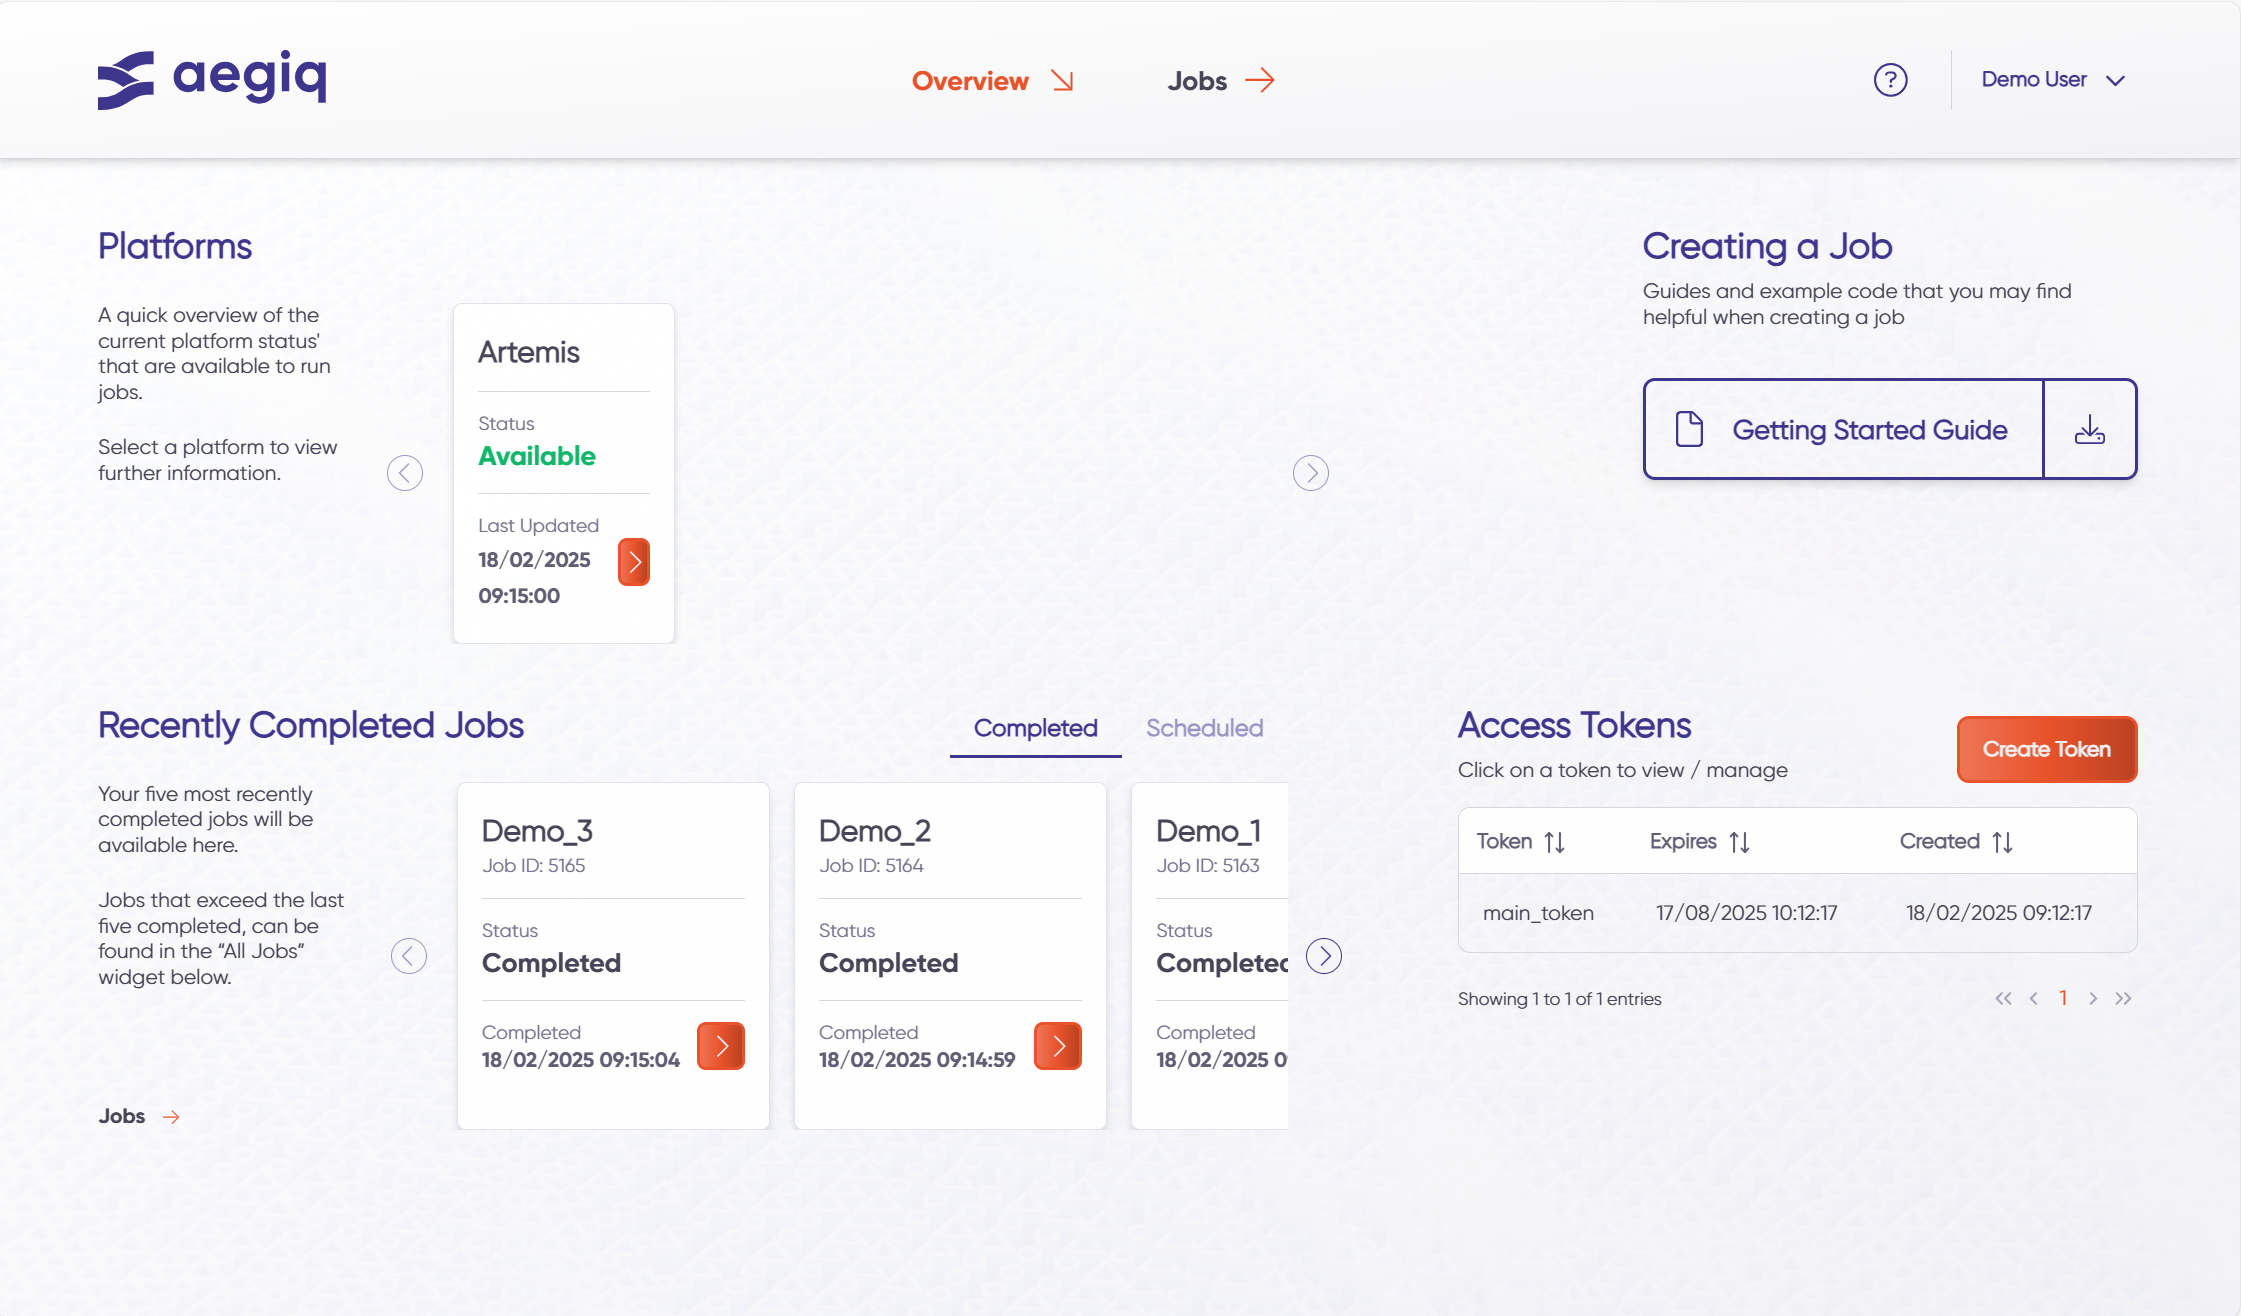
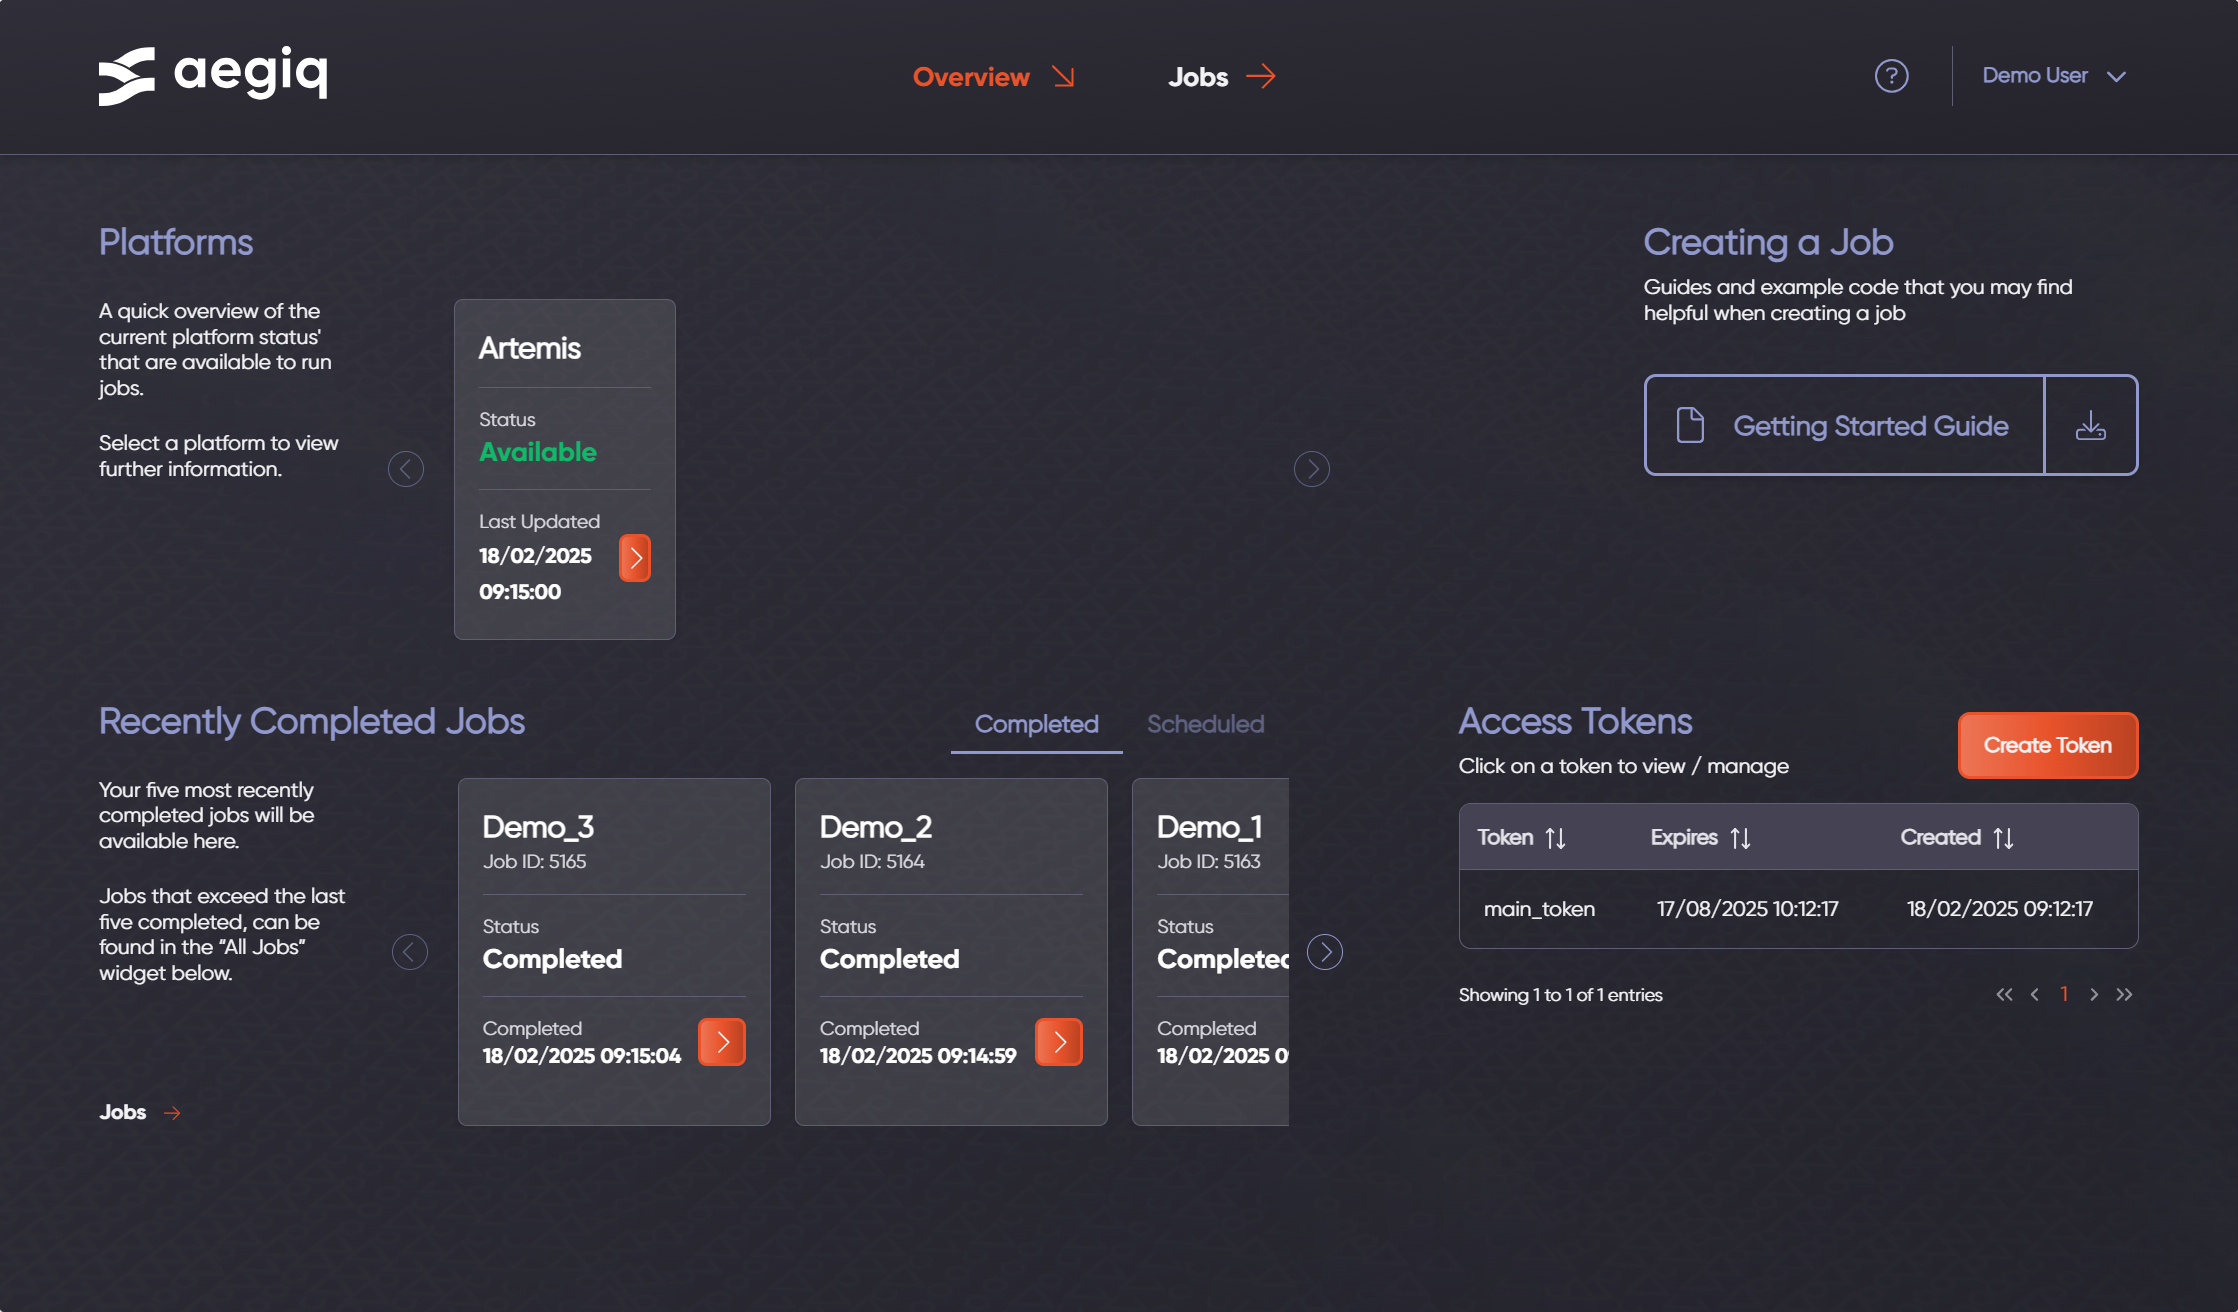
It is possible to the interact with the different components to view more information about them. In the following sections these components will be explored further.
System Overview
Starting with the platform overview, clicking the orange arrow on a system will show you more details about it.
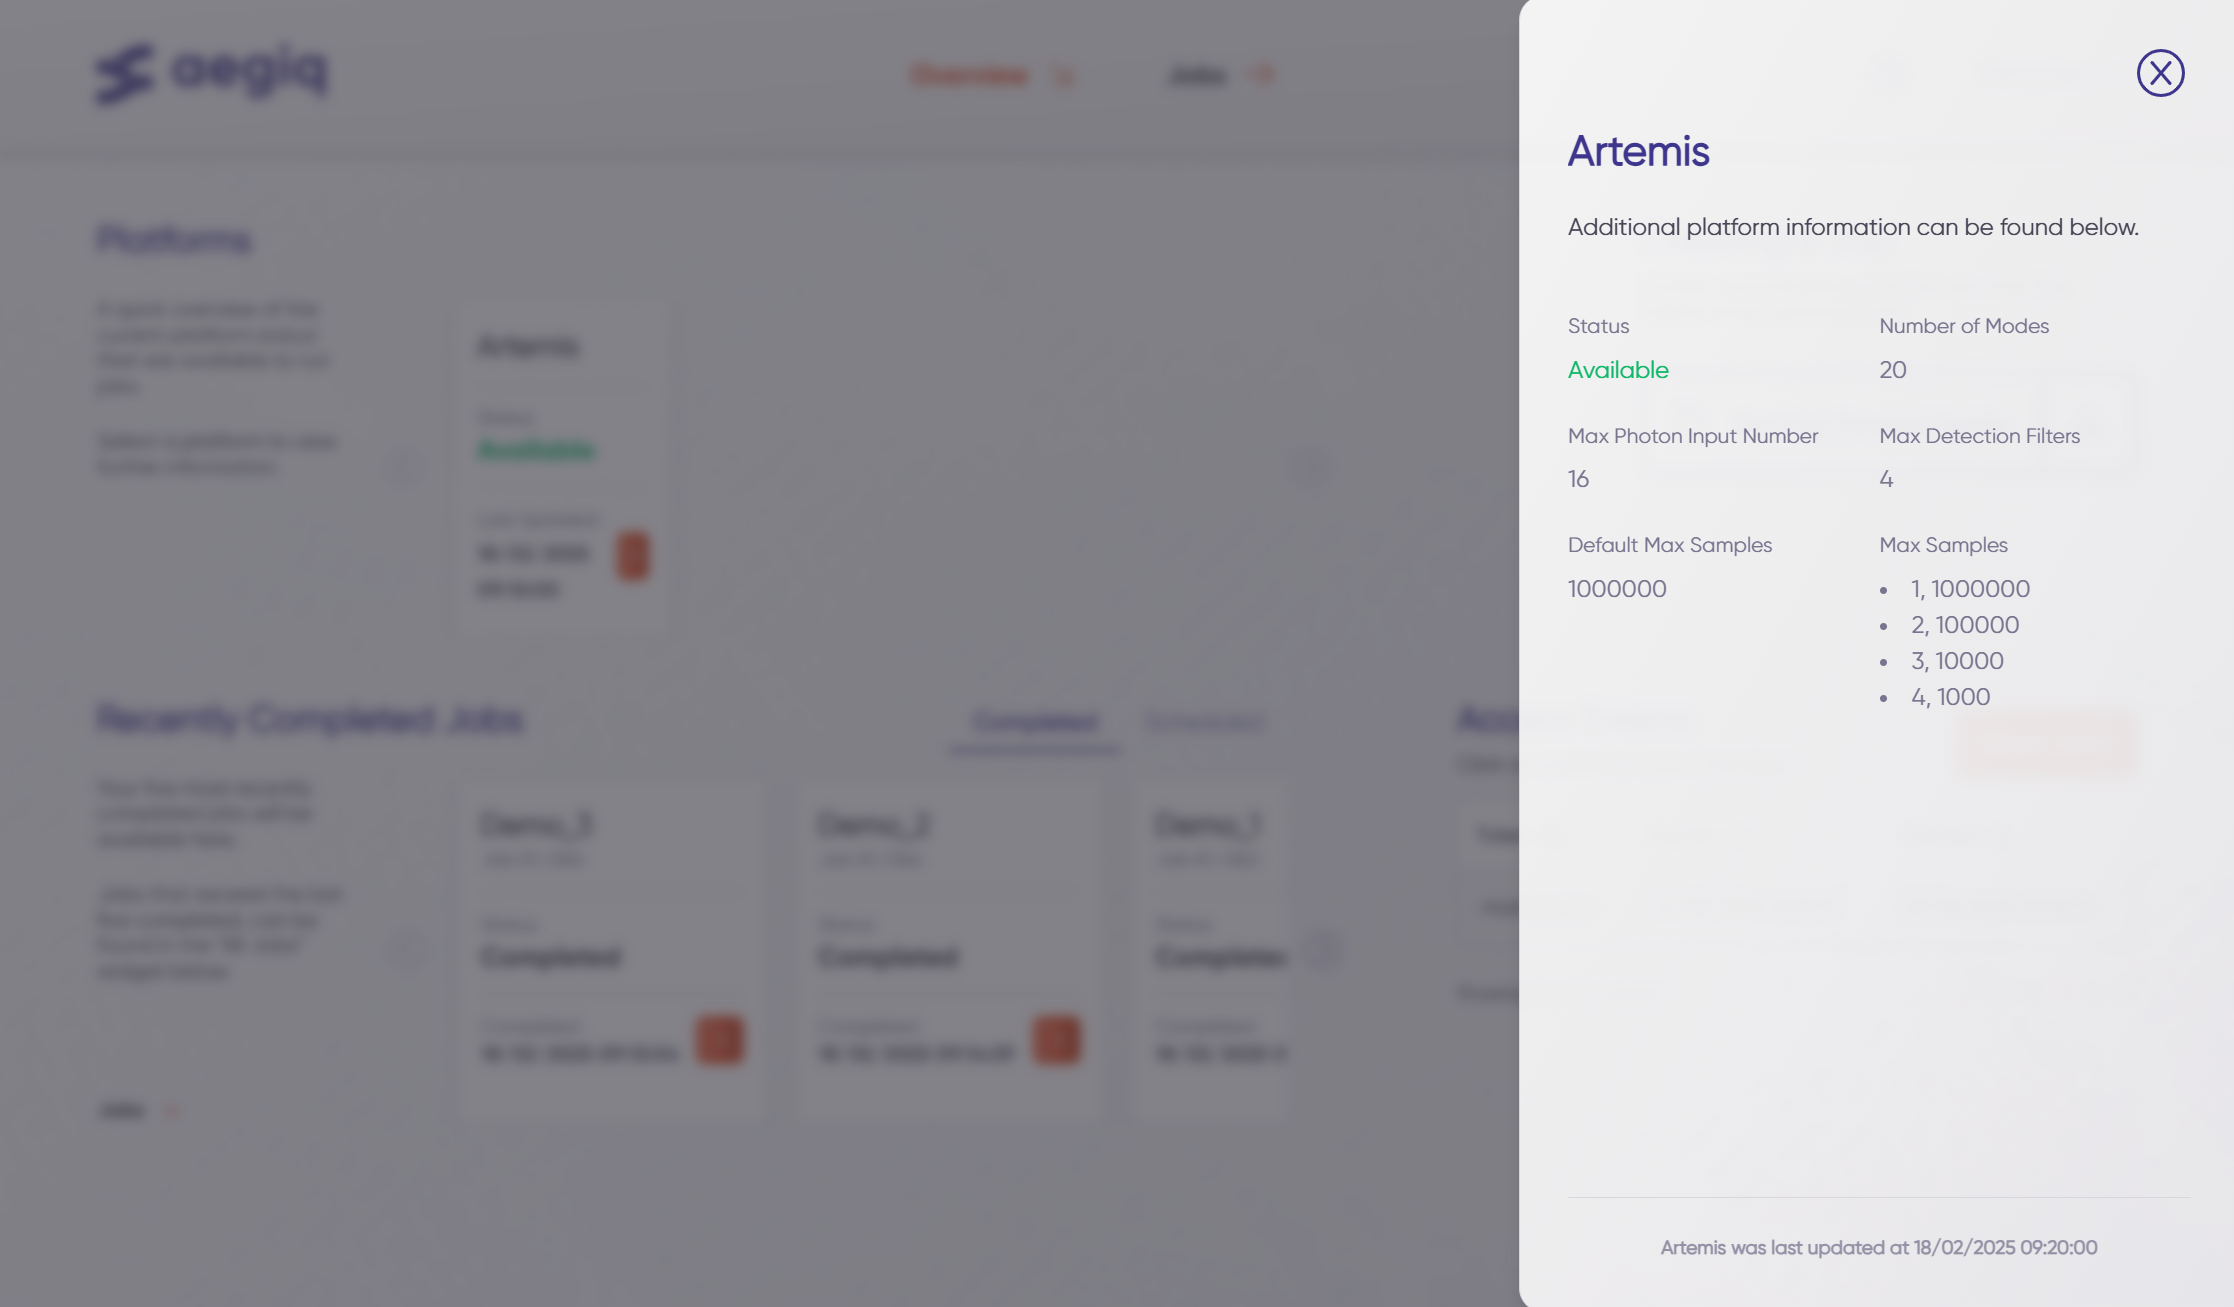
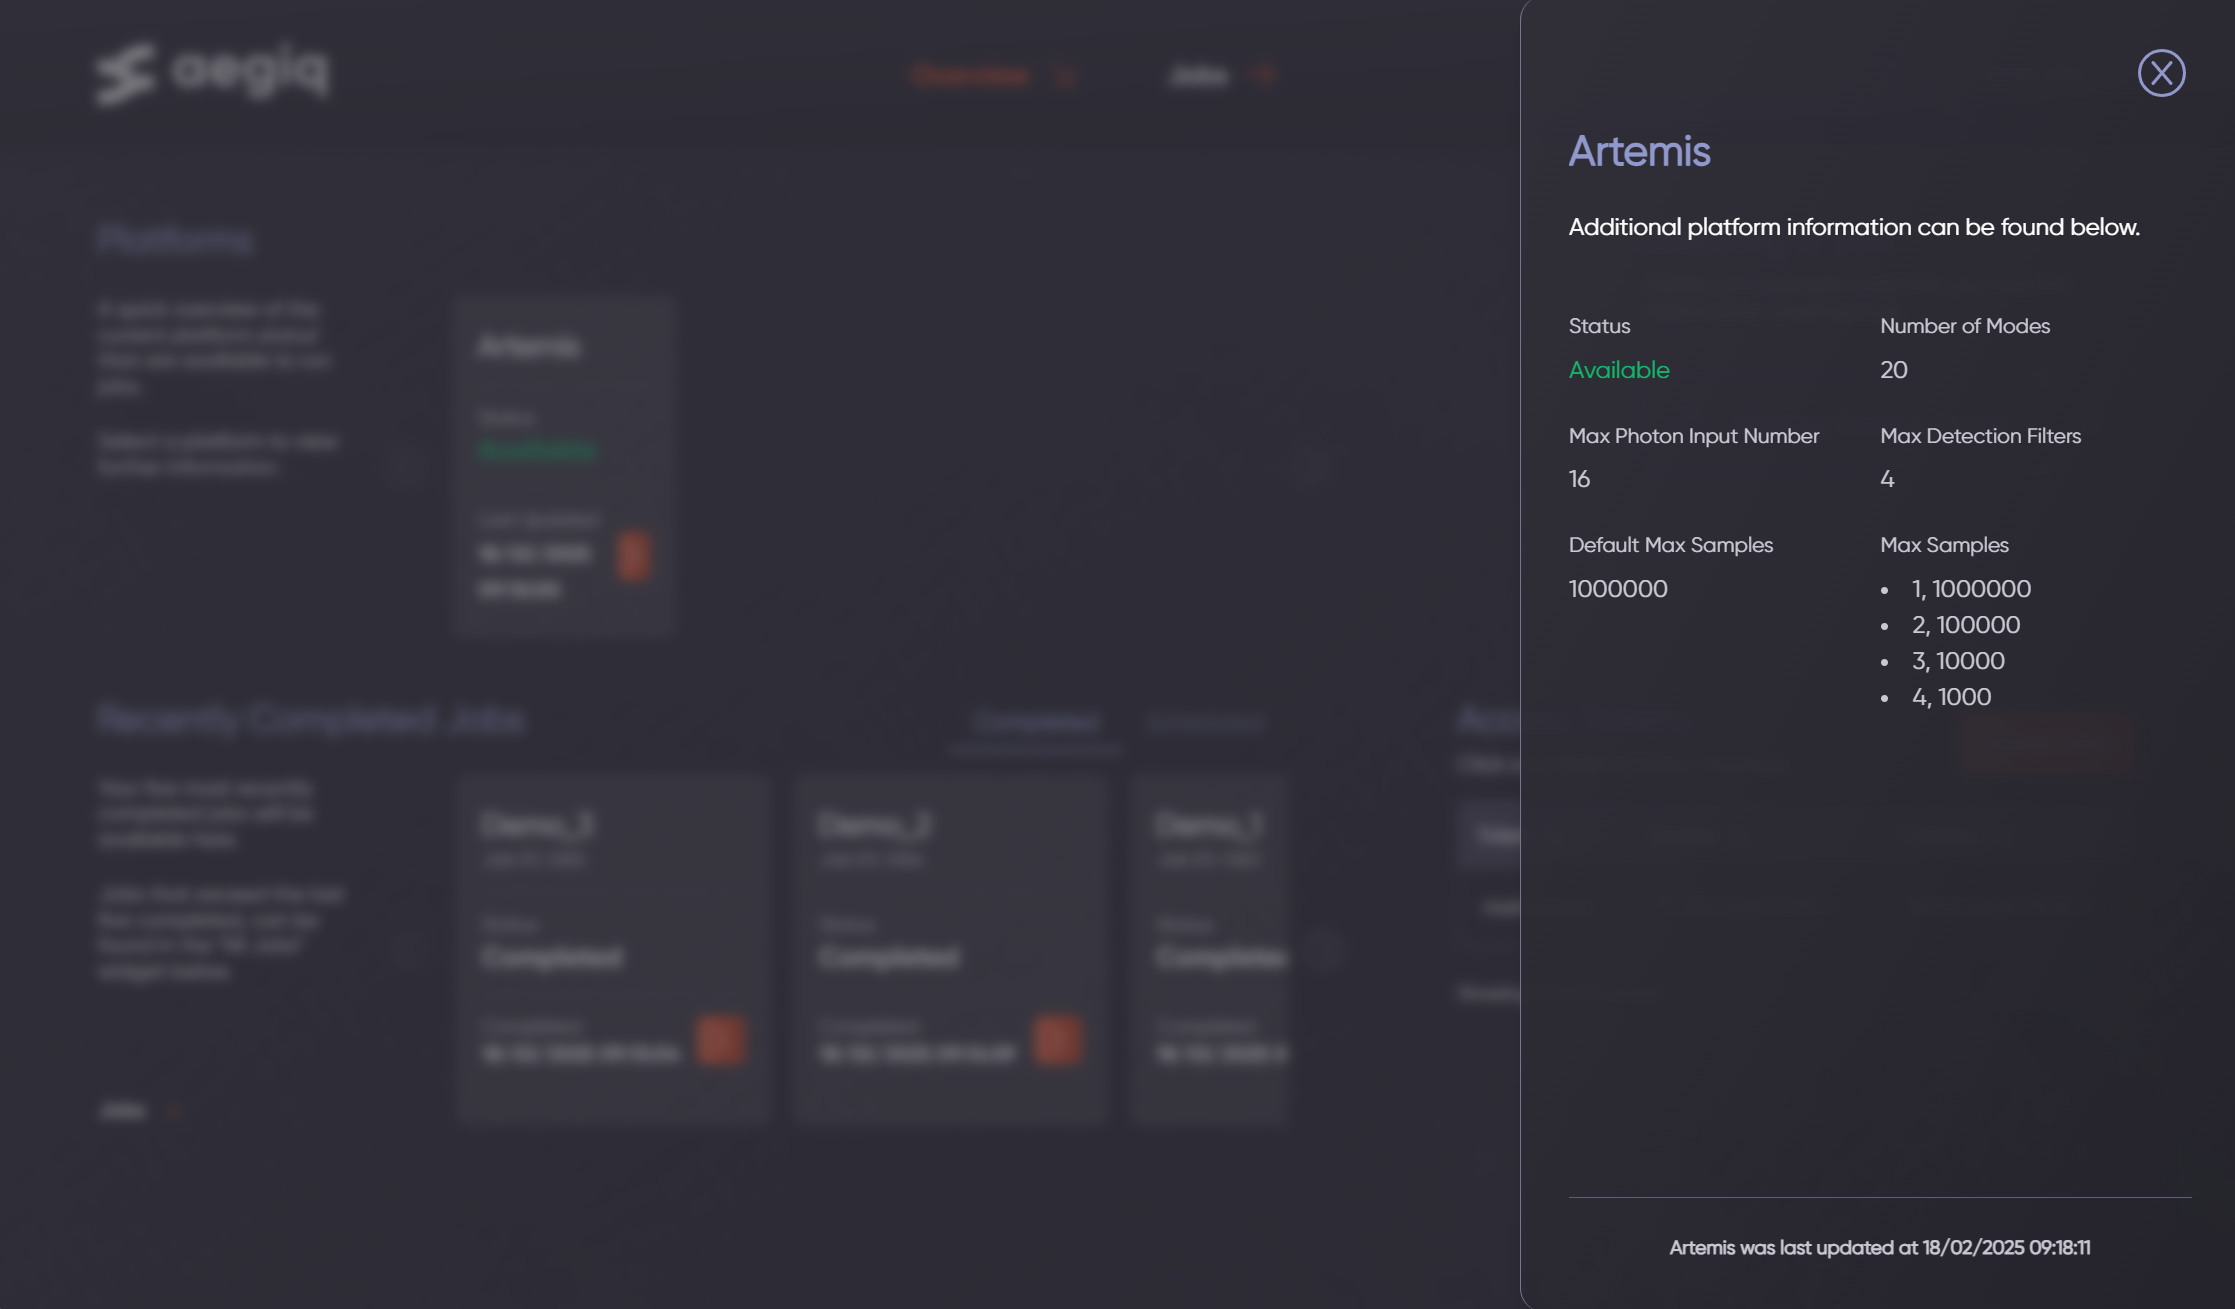
There are a number of different parameters here, which will constrain the size and complexity of jobs that can be submitted to the system. These are described in the table below.
Parameter |
Description |
|---|---|
Status |
The current availability of the system. Jobs can still be submitted while a system is offline, and will be placed into the queue. |
Number of Modes |
The number of modes available on the photonic processor. This will limit the size of the Photonic Circuits which can be supplied to the system, but they can be smaller than this value. |
Max Photon Input Number |
The maximum number of photons which can be requested in the input state of a job. |
Max Detection Filter |
Sets the largest value that can be used as the photon detection filter to create a valid sample (min_detection in the Lightworks Sampler). Hint: When a minimum photon number is not specified for a job, it defaults to the number of input photons. |
Default Max Samples |
A global maximum number of samples that can be requested in a single job, irrespective of configuration. |
Max Samples |
Specific maximum number of samples that can be requested based on the minimum photon detection filter that is used to create a valid sample in the job. If a value isn’t included here then the default max samples value is used. |
Access Tokens
To submit a job to the system, an access token needs to be provided to Lightworks for authentication with the job scheduling service. These tokens are managed on the dashboard.
To start, a new token can be created using the create token button. Each token needs a unique name which can be used to reference it. The expiry time and whether or not the token is high-priority (if available to the user) can also be customised. Once a token is created, it will then be displayed to users only once, so should copied and stored somewhere safe.
Once a token is created, the orange arrow can then be used to view specific details about it. This will open the following information draw.
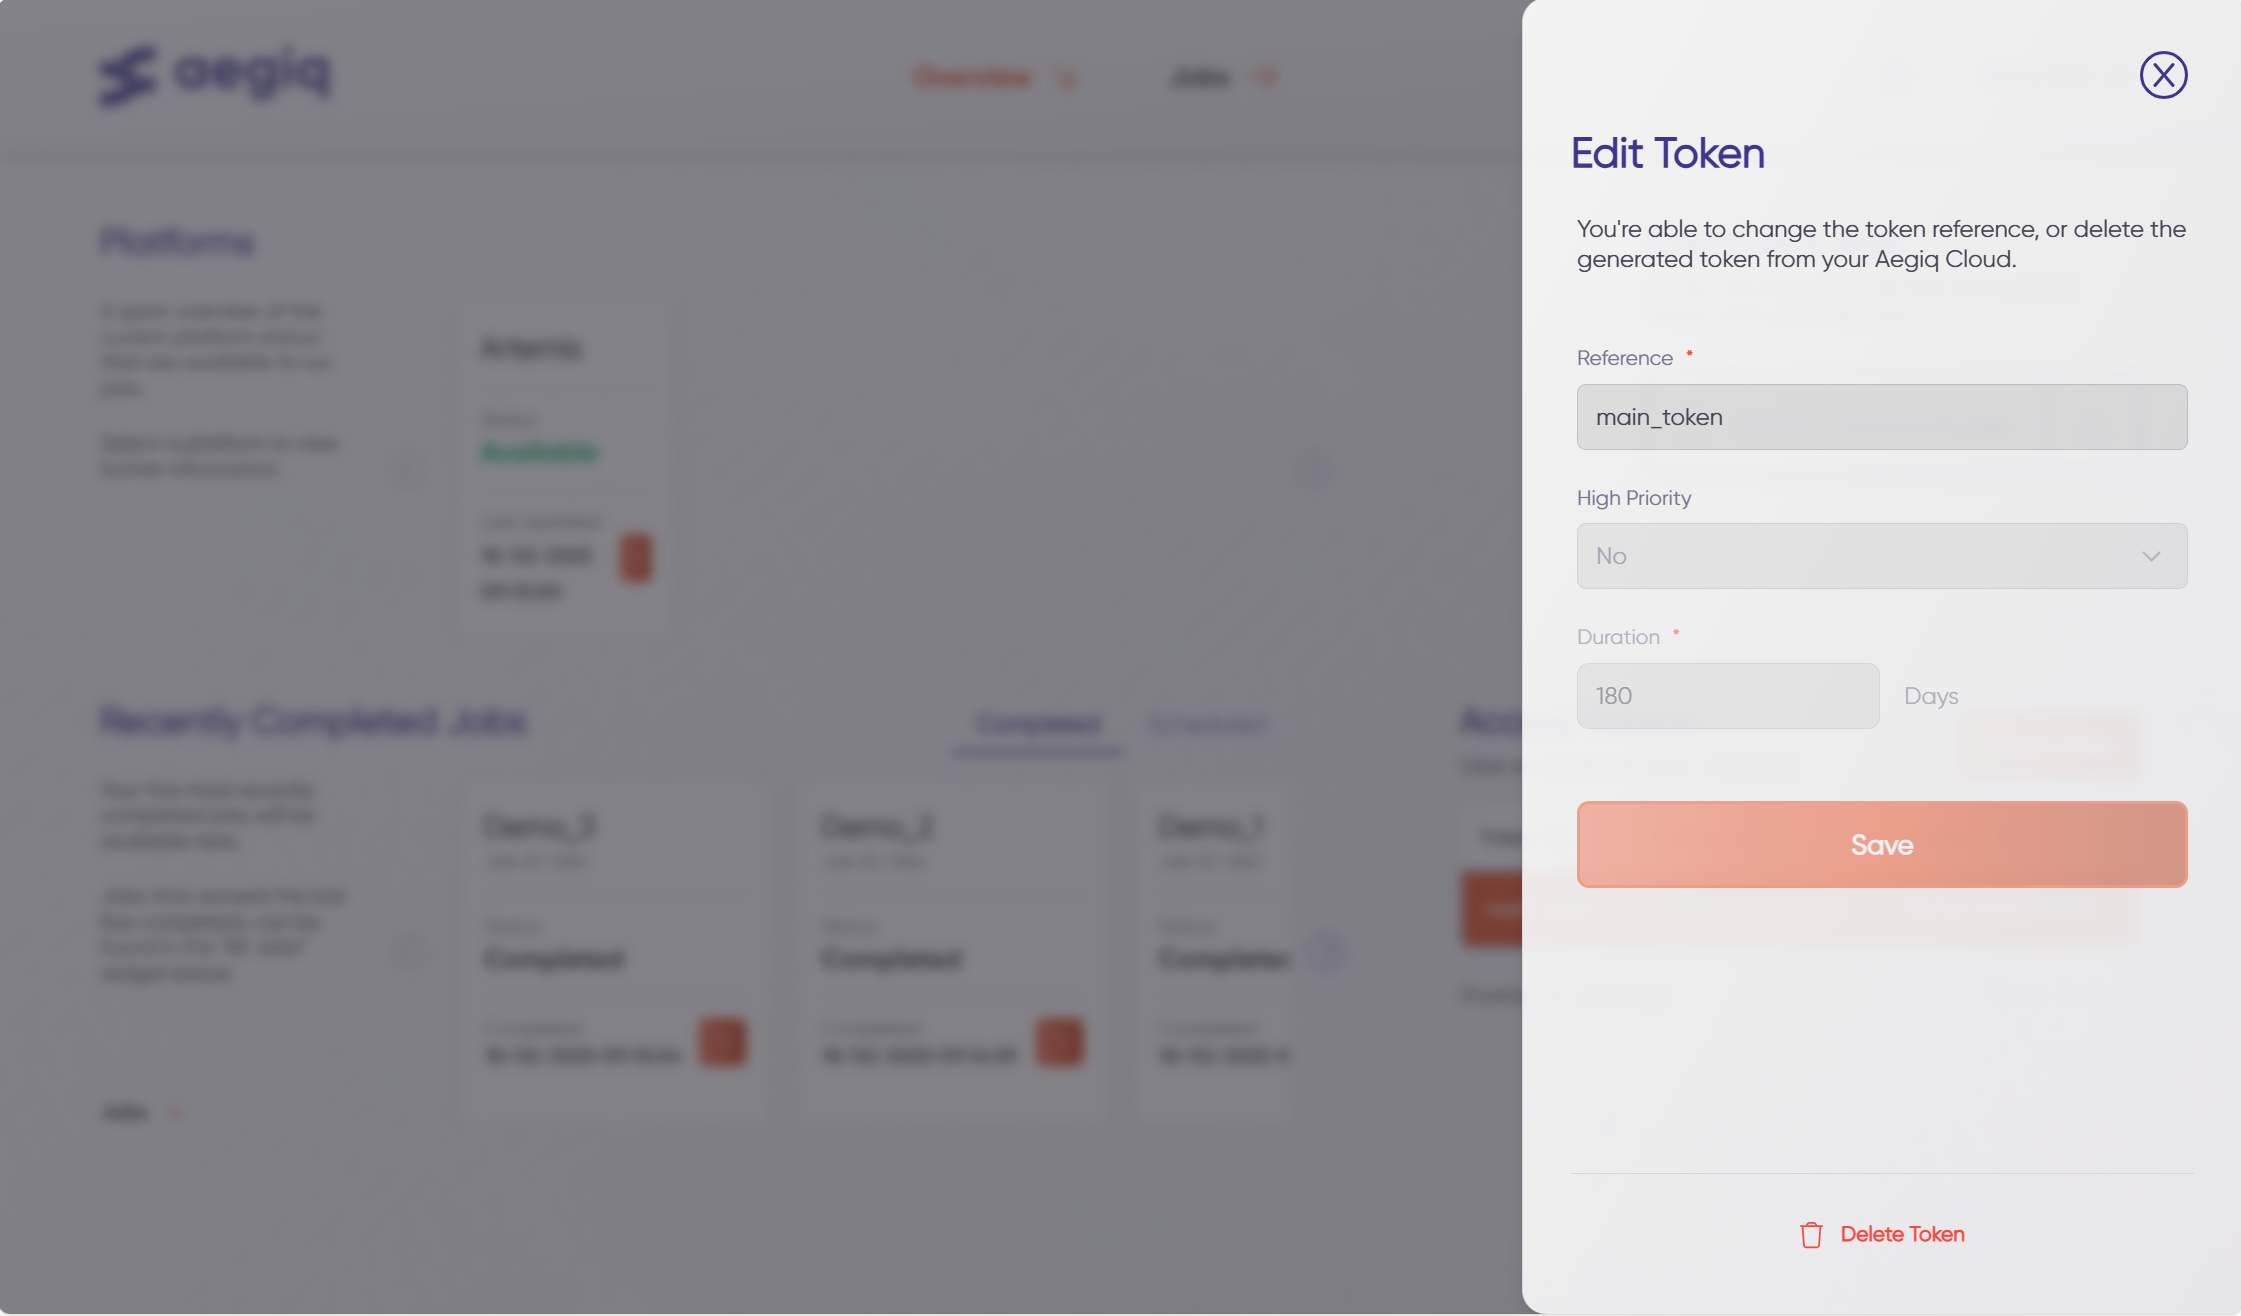
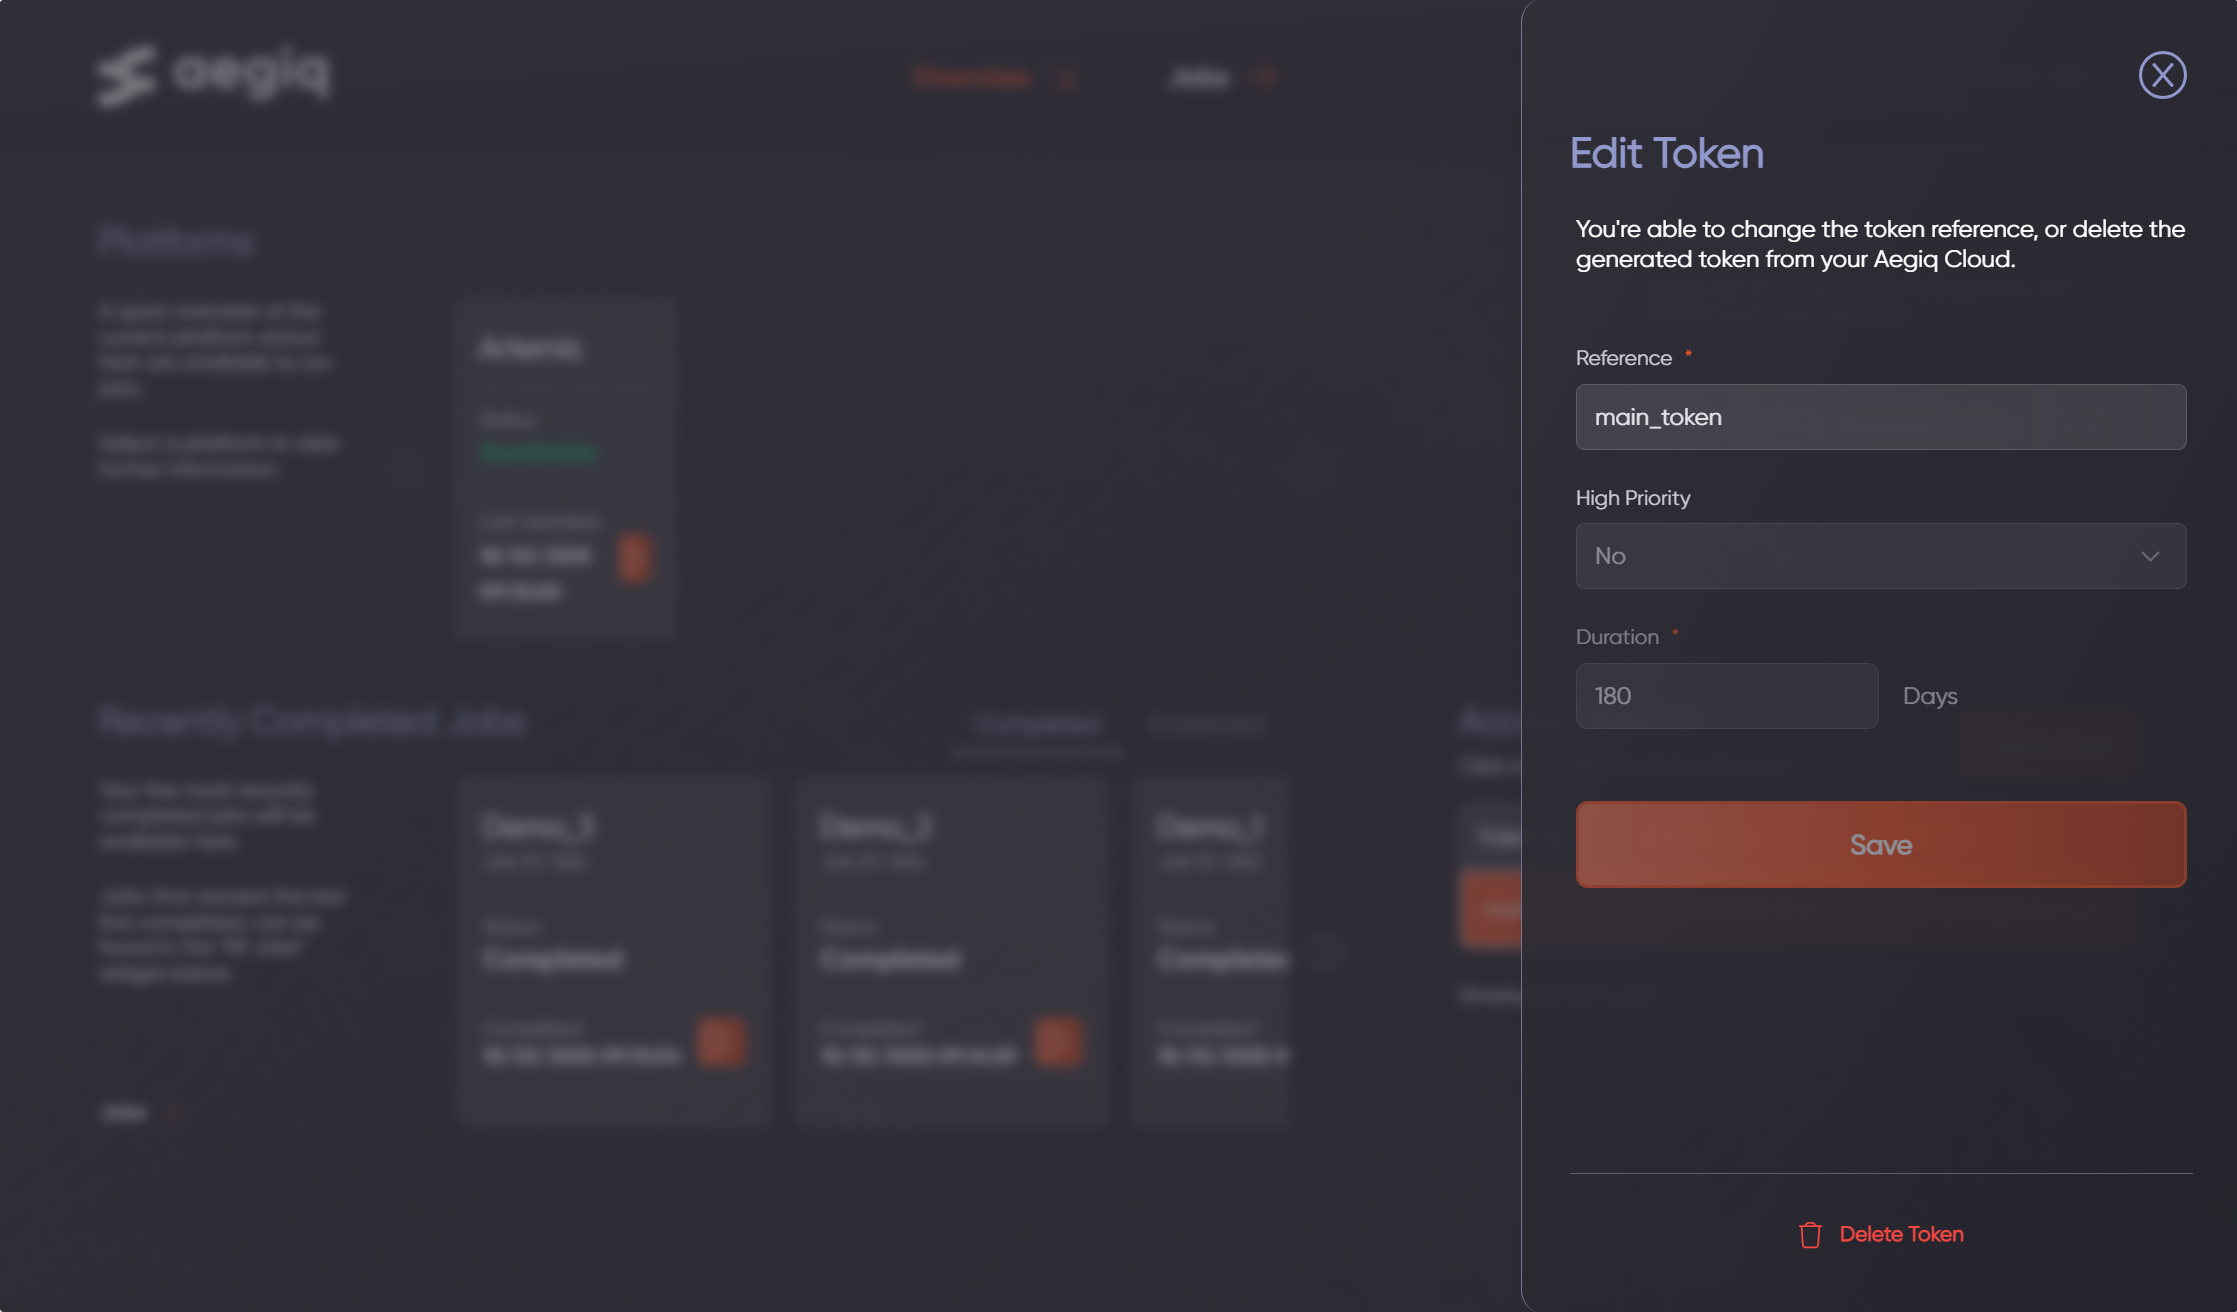
At the bottom is a delete token button, this can be used to invalidate any token which becomes compromised to ensure continued security of the system.
Job Dashboard
There is a page in the dashboard dedicated specifically to jobs. This features a main table containing all jobs (completed, scheduled, failed, etc..), with search and sorting capability, and also previews of the 5 most recently completed & scheduled jobs.
Note
Jobs IDs are assigned sequentially, meaning the most recently submitted jobs will have the highest ID.
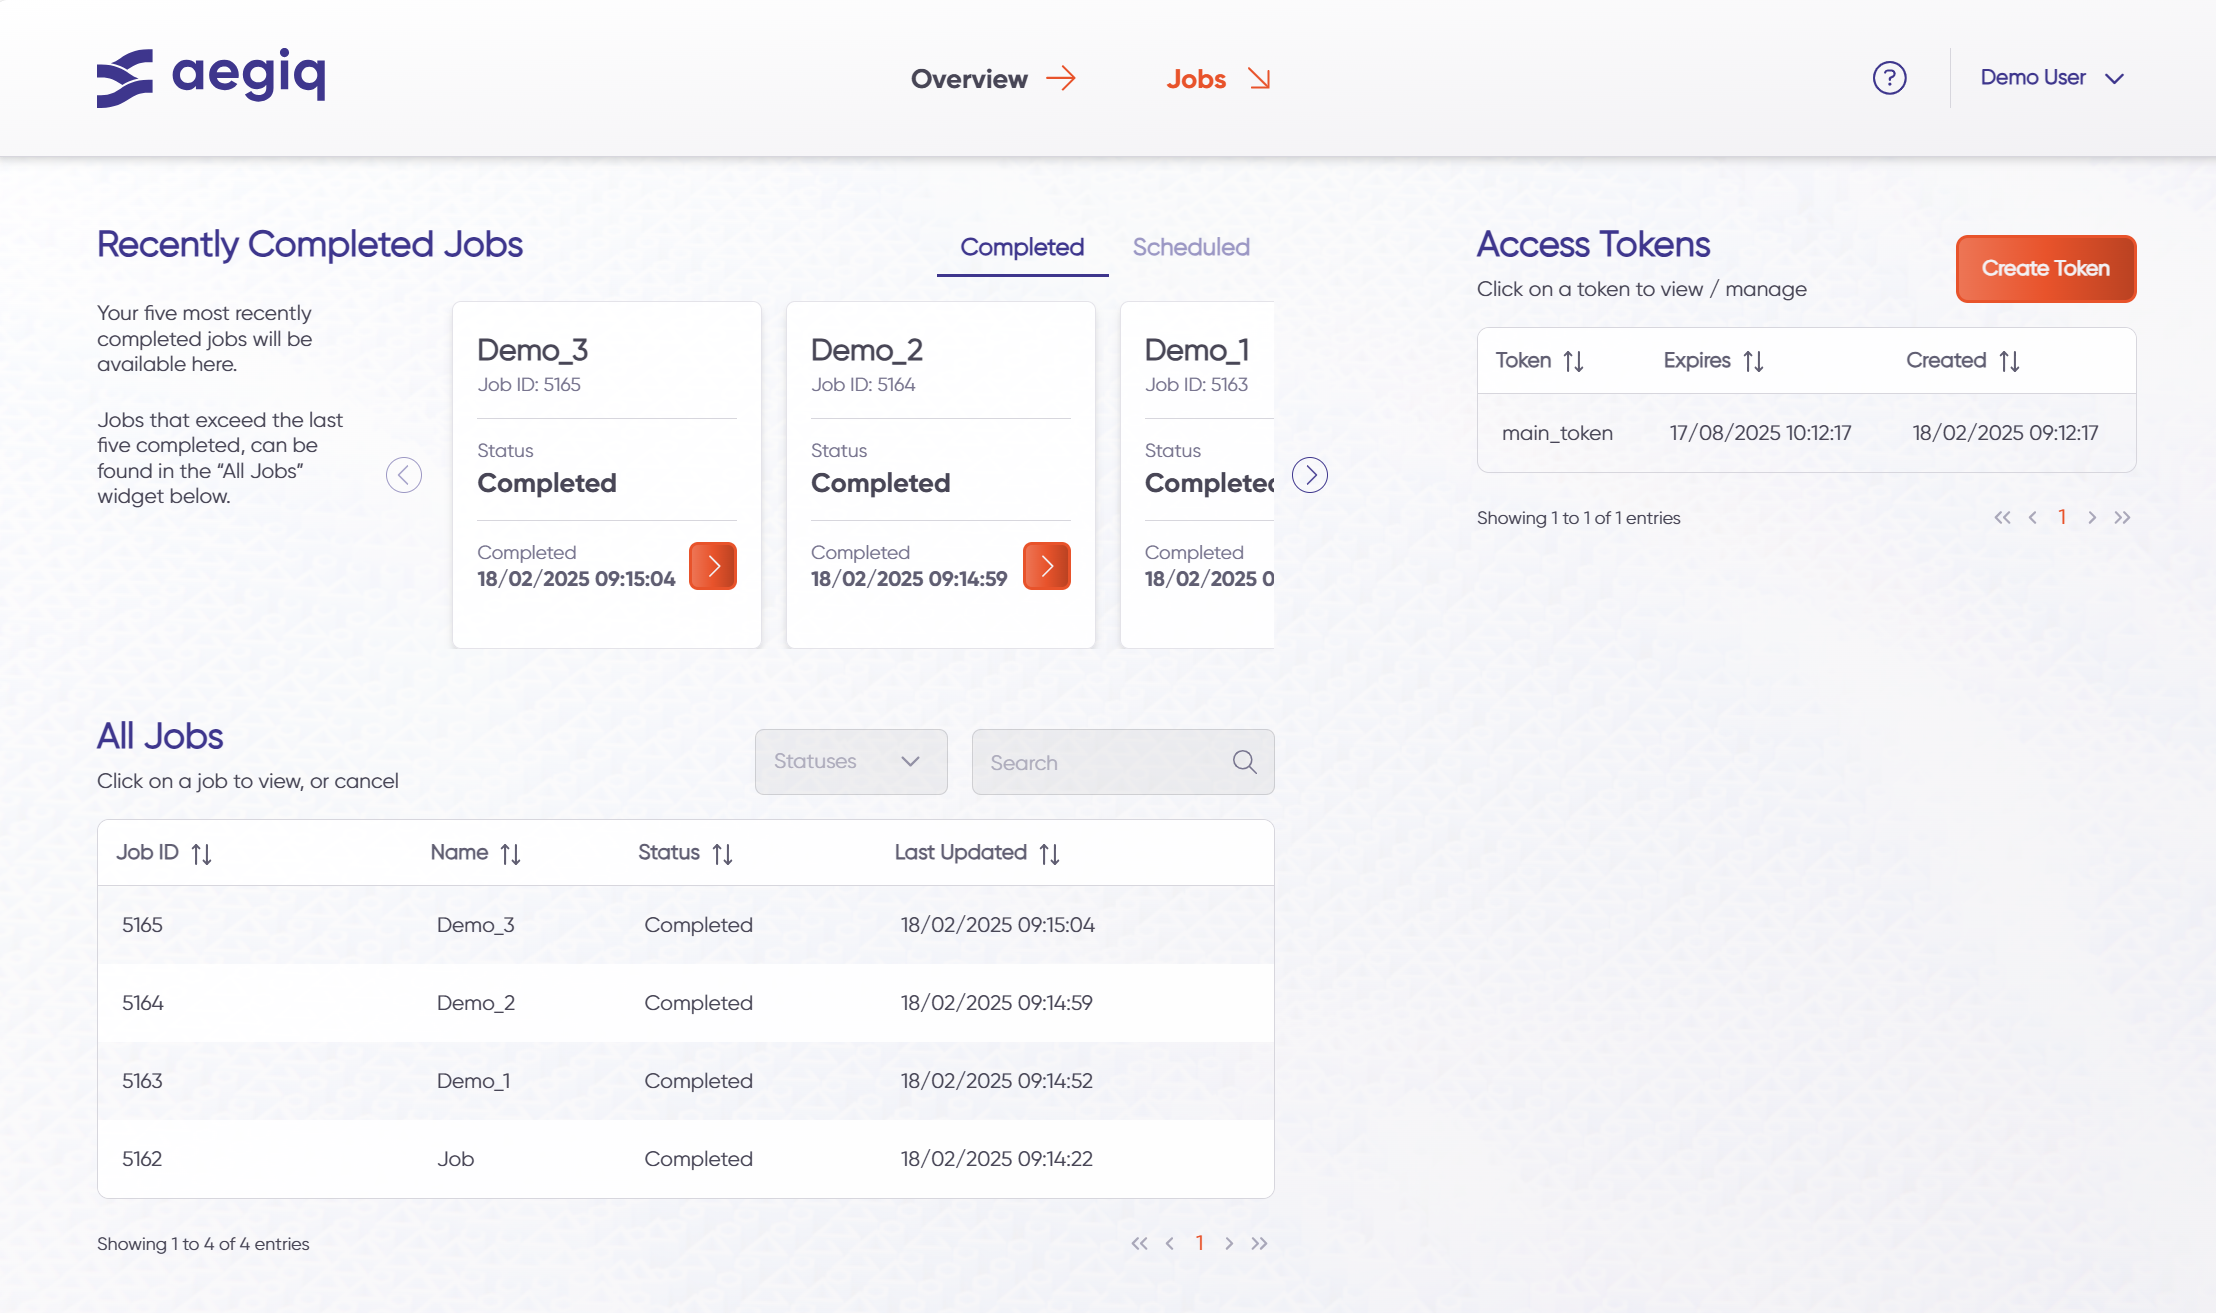
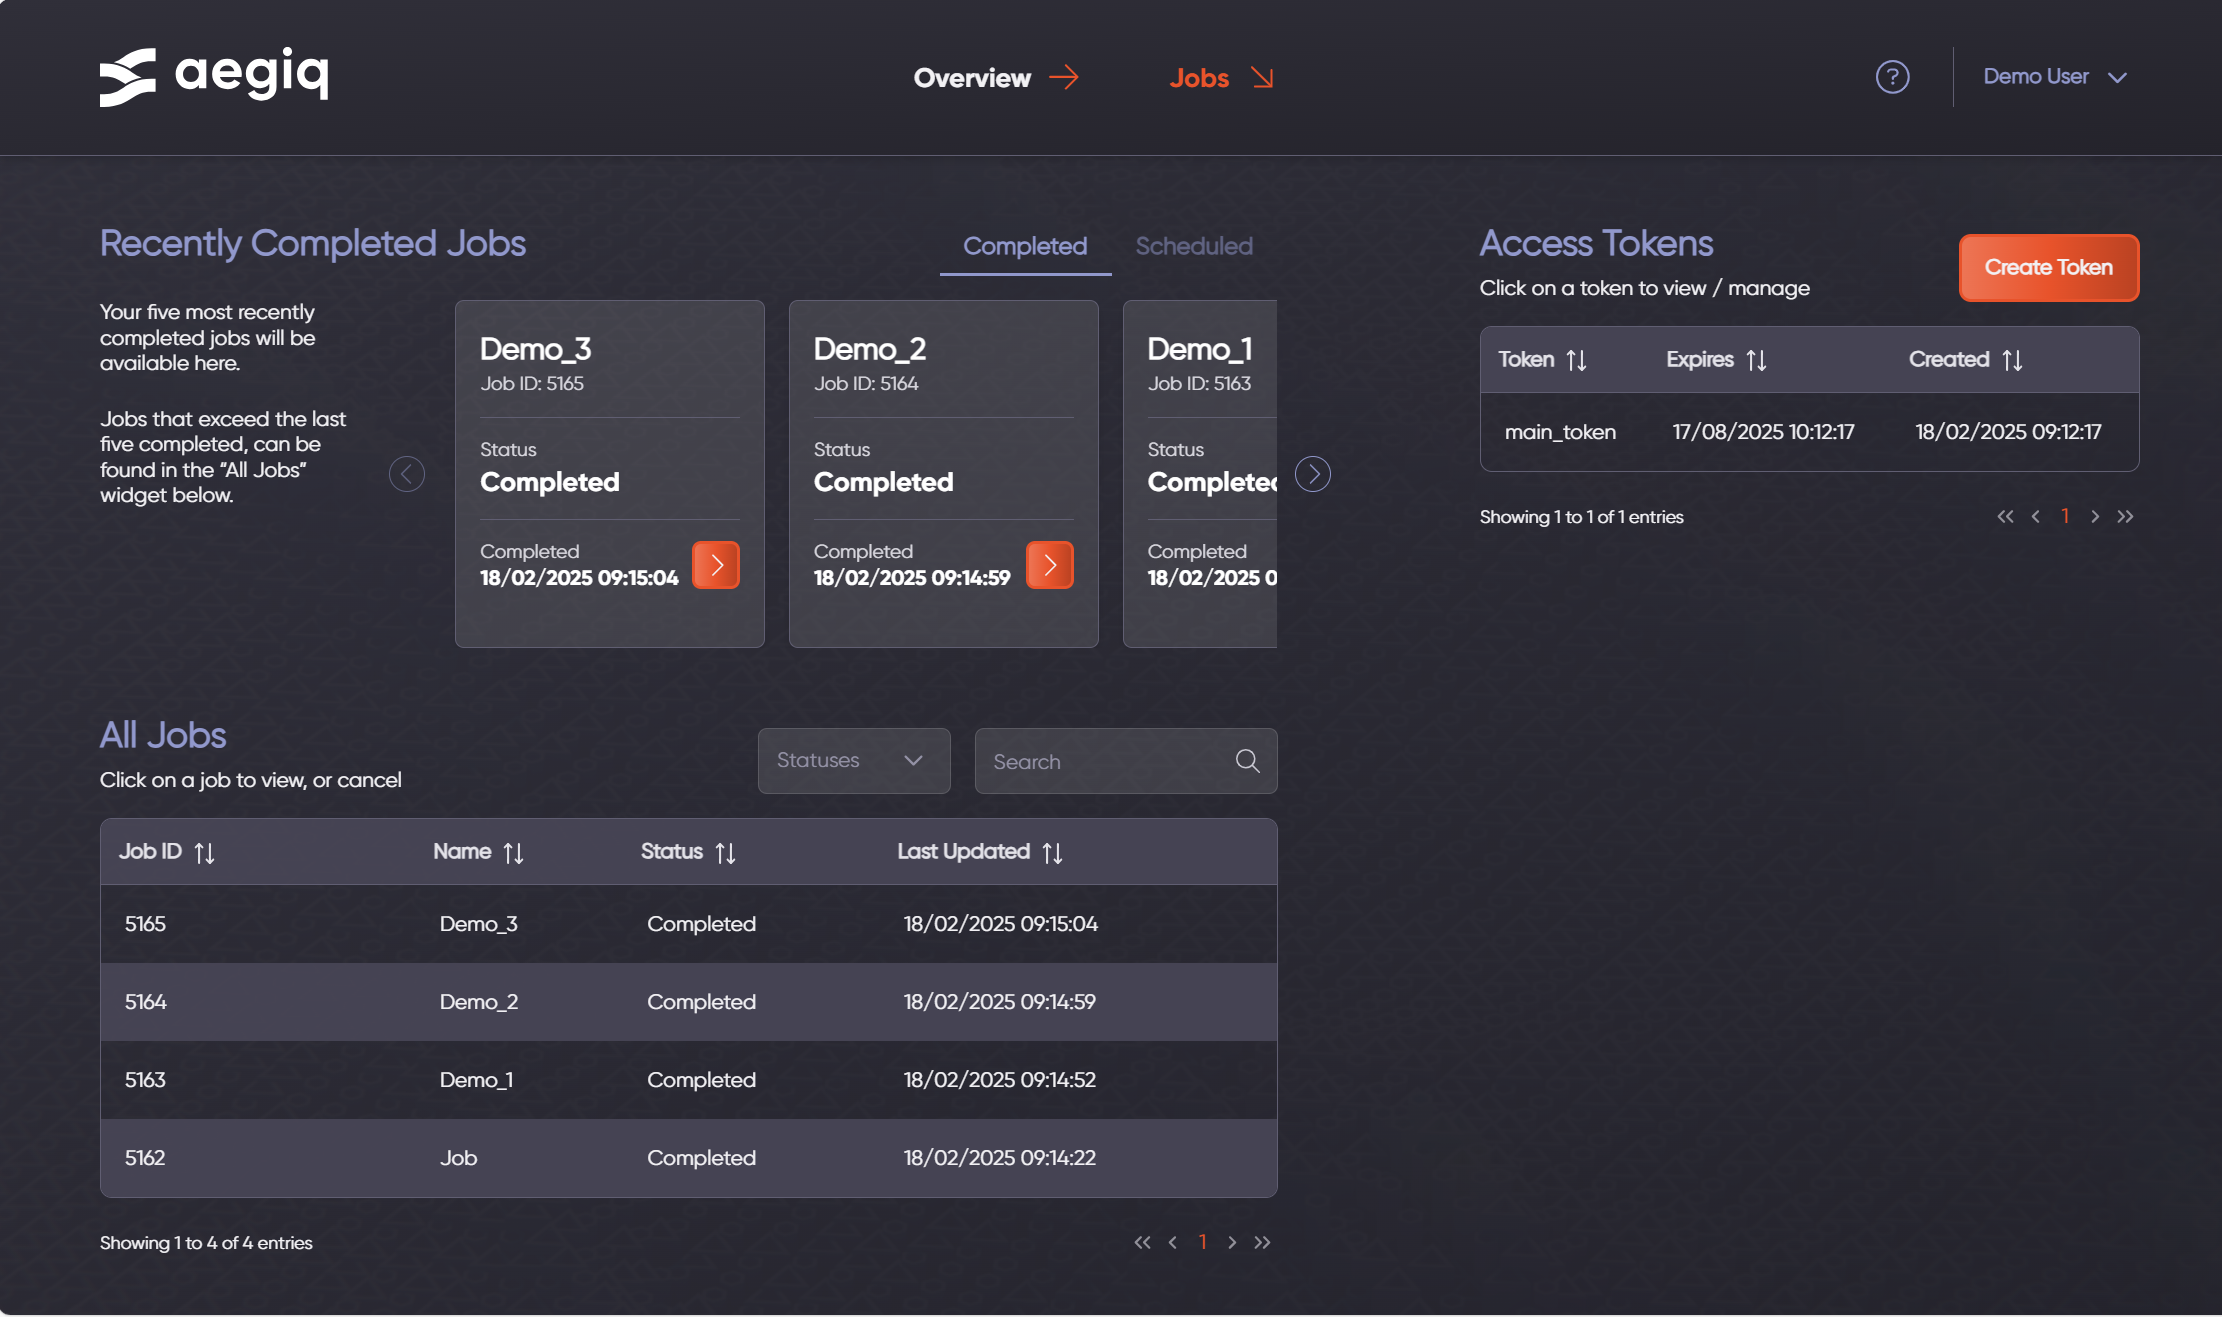
It is possible to click on any job from the table, to view more information about them.
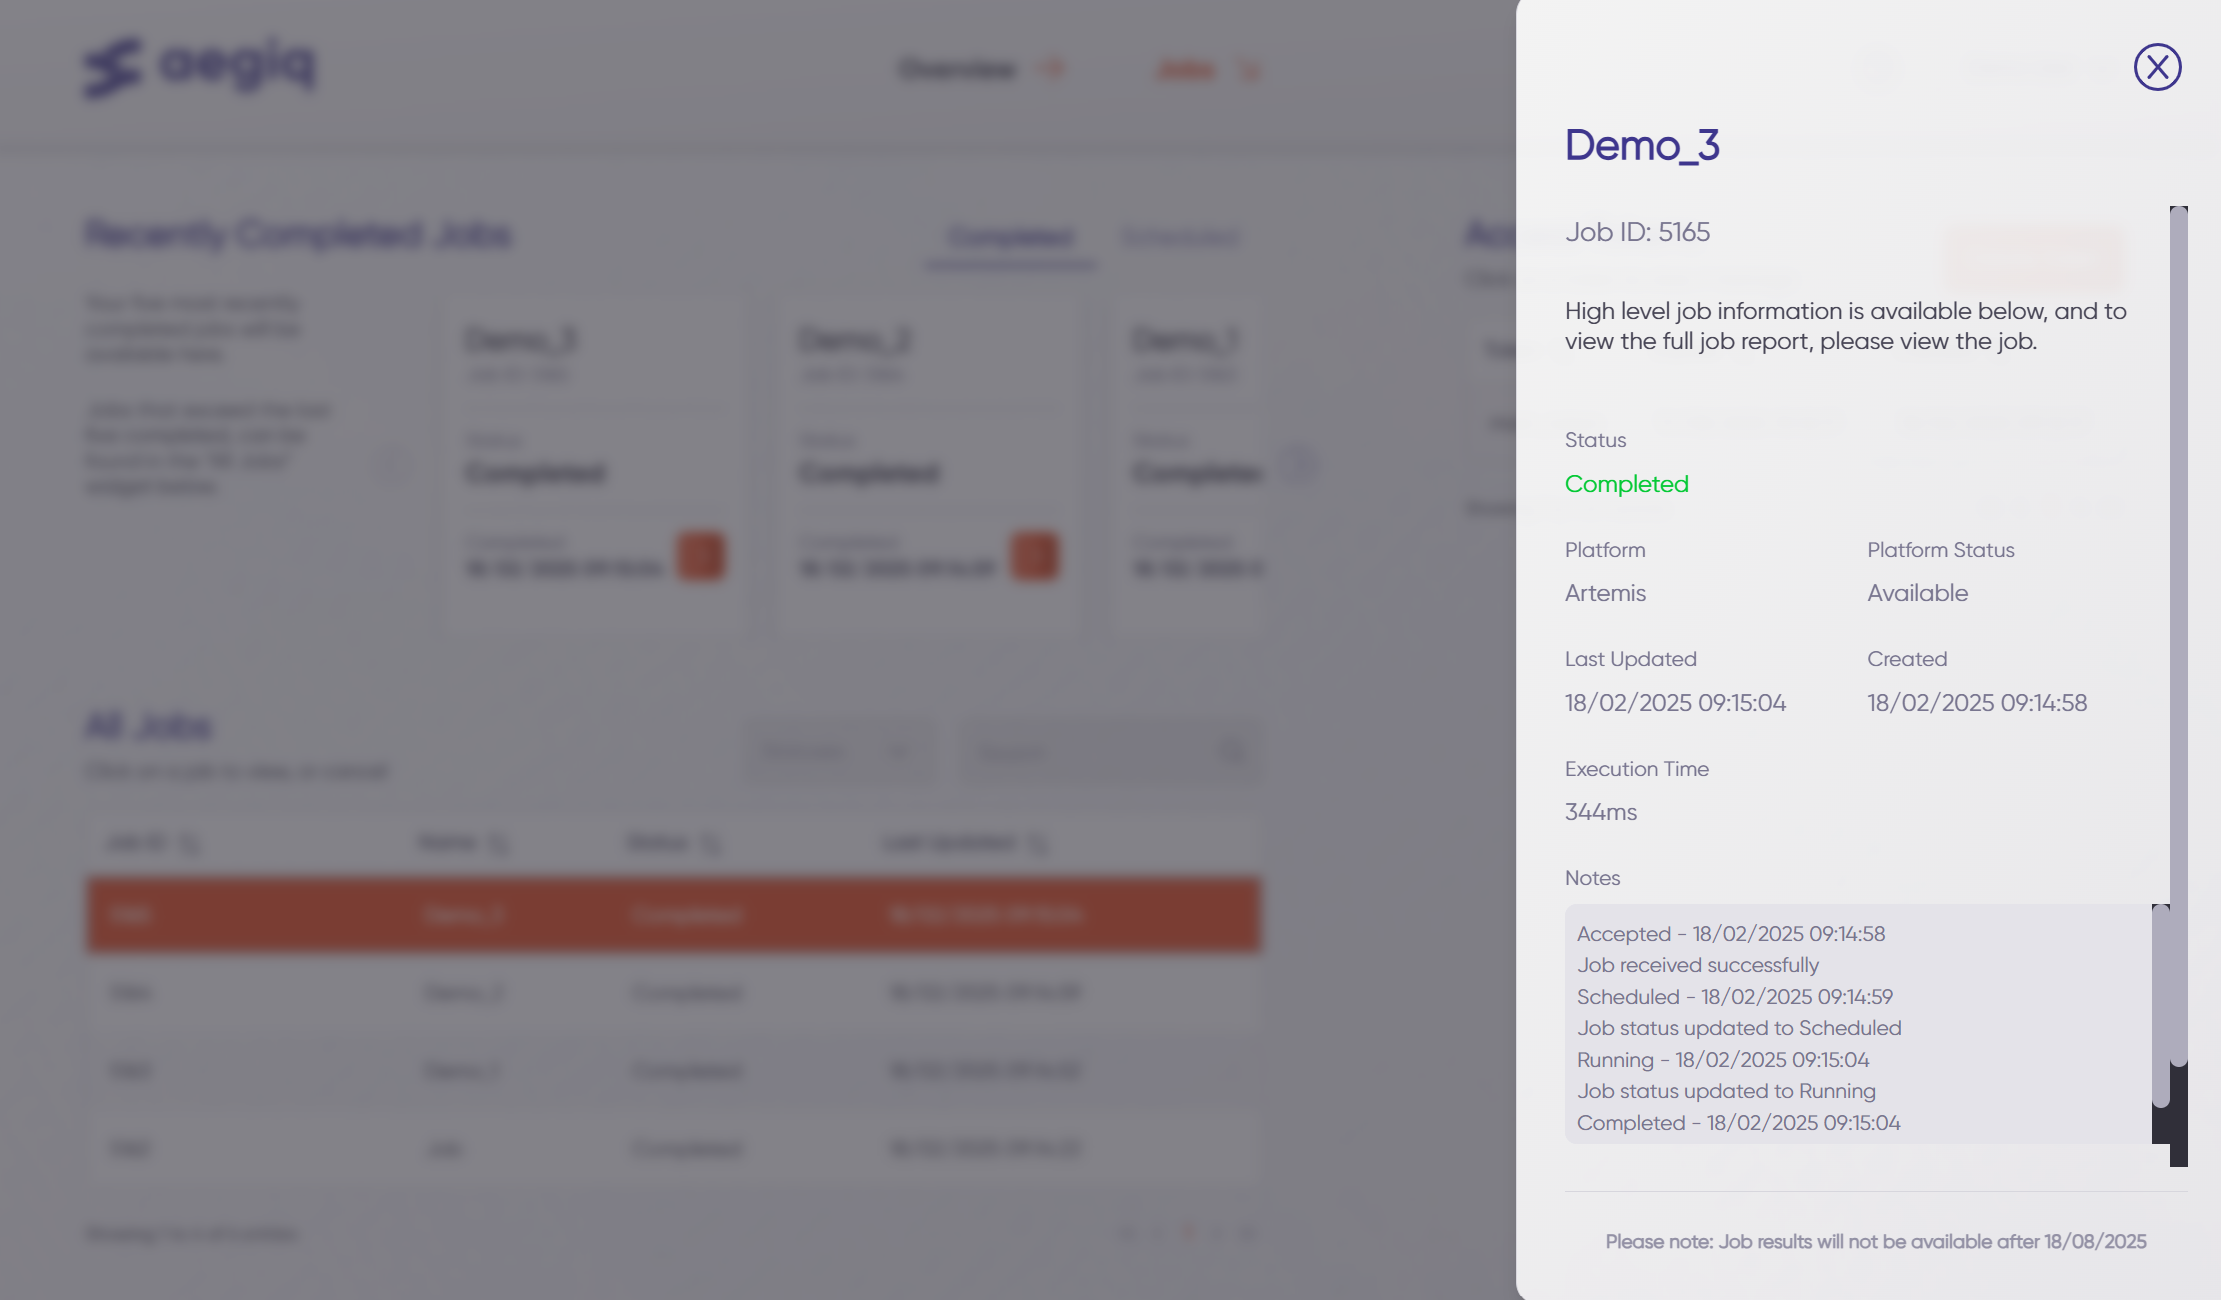
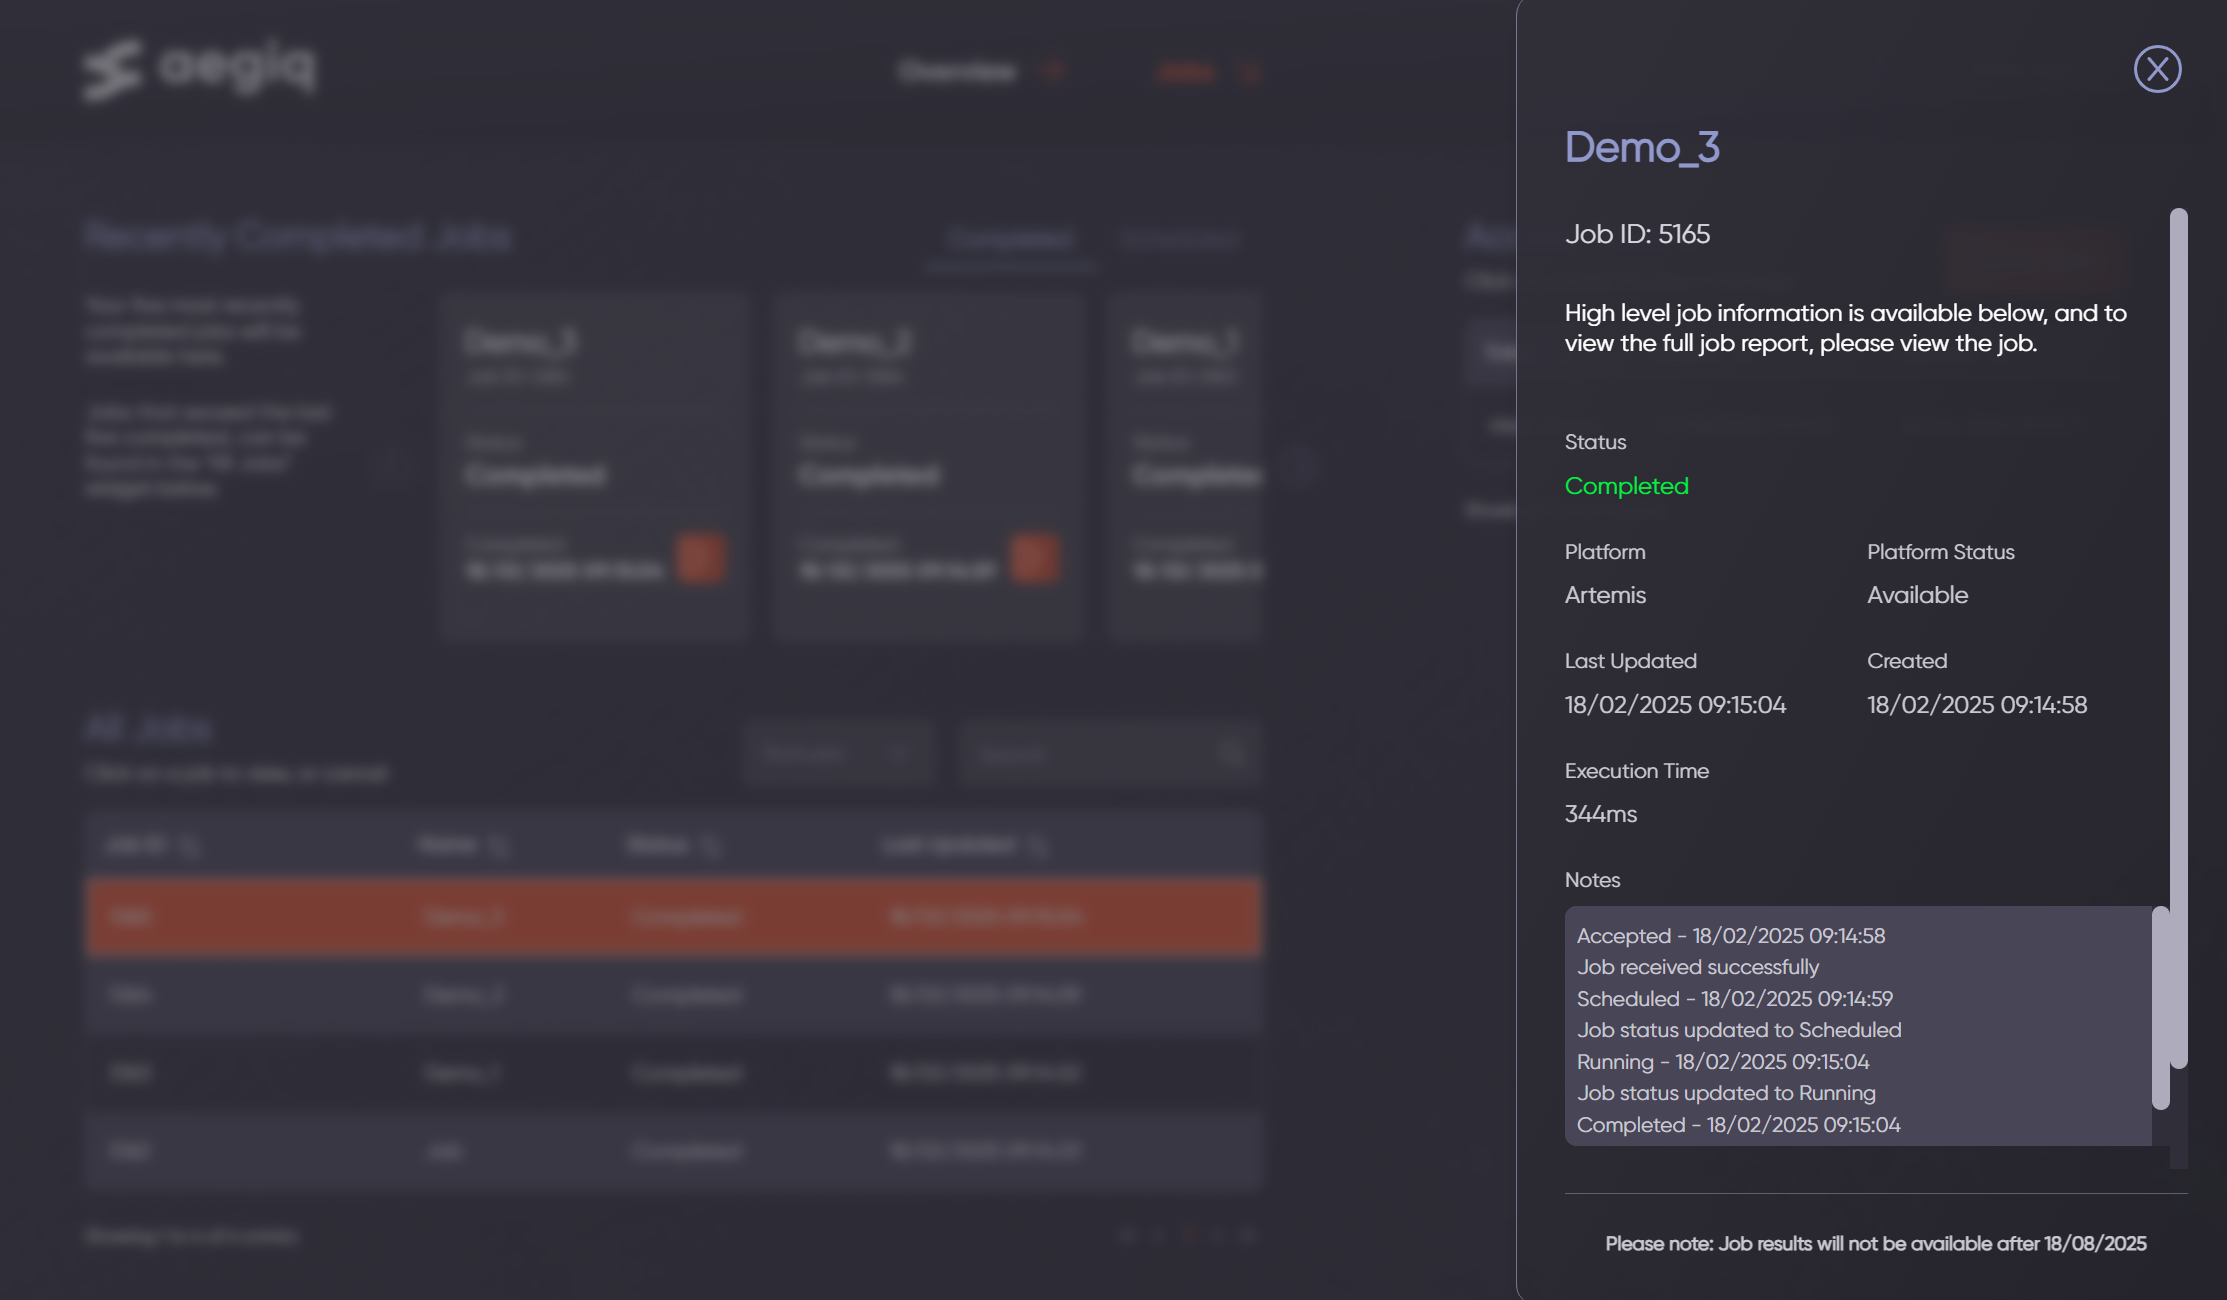
From this, the status, queue position (if job is not yet completed), platform, and other details can be viewed. Results can also be downloaded and jobs cancelled from this page when the job is completed or in a cancellable state respectively.
Note
The majority of information/functionality on this page can also be accessed through Lightworks if preferred by a user.
Next Steps
Once familiar with the dashboard, it is then possible to start submitting jobs. For more details see Job Submission.